Top 10 Reasons to Get a Food Dehydrator
Why do you need a dehydrator? It’s not something I ever thought I’d need in my kitchen.
Why do you need a dehydrator? It’s not something I ever thought I’d need in my kitchen. Right after I got my copy of Sally Fallon Morell’s Nourishing Traditions cookbook, my first two purchases were a bunch of starter cultures (kombucha scoby, sourdough starter, yogurt starter, kefir grains) and an Excalibur dehydrator.
Little did I know the dehydrator would be one of the best investments I ever made on my journey of cooking traditional food.
It was Christmastime two years ago. I told my husband he didn’t need to buy me anything (a relief for him!) and I went online and ordered my dehydrator.
Talk about a fun Christmas. Suddenly my kitchen was no longer a kitchen — it was a laboratory. I had science projects on every counter and in every cupboard.
A Dehydrator is a Smart Investment
Far and away, the best investment I made in my commitment to cooking wholesome traditional food for my family has been my Excalibur dehydrator. I learned early on that buying and preparing foods in bulk saves me time and money.
It’s not like you have to have a dehydrator. In Nourishing Traditions, Sally says you can use an oven at the lowest setting. However my oven only goes down to 170 degrees, which destroys the enzymes. Plus, I don’t like running my oven all the time — especially during summertime.
I know lots of people who have been cooking traditional or slow food for years who don’t own a dehydrator, and frankly, I don’t know how they do it.
The truth is, traditional cooking requires planning and preparation in advance. If stuff isn’t done ahead, you’re not going to use it. You’re going to pick up the phone and order a pizza.
And soaking and drying in bulk makes it so much easier. Why soak and dry a small batch of nuts when you can do a LOT at one time? You save money when you buy in bulk and you save time by doing bigger batches.
This is why I really recommend getting a larger dehydrator. The 4-tray may be cheaper but in the long run, you’ll save more time and money by getting one with more trays. I got the Exaclibur dehydrator with 9 trays and it has been wonderful.
Top 10 Reasons to Get a Dehydrator
Here are my top 10 reasons to go ahead and get that dehydrator you’ve been wanting. If this post helps you convince your significant other or yourself that you deserve (and NEED) a dehydrator, I’ve done my job. You may want to just email this post to your husband or share it on his Facebook wall — a “hint, hint” to your honey. Or give Santa a ring up at the North Pole and tell him this is the ticket.
1. Dry soaked nuts and seeds.
Nuts and seeds have enzyme inhibitors. Soaking deactivates the enzyme inhibitors. Drying nuts and seeds in a dehydrator allows you to dry at a low temperature, which keeps all the enzymes alive, making soaked and dried nuts and seeds a living food.
I now buy all my nuts in bulk, soak them in large sprouting jars, and dry them big batches in my dehydrator. I store them in glass jars in the cupboard and use them whenever needed. Whether I’m making Christmas pecan pie (Healthy Texas Holiday Pecan Pie recipe coming next week — check back!) or pesto in summer, or using sunflower seeds on a salad, it’s wonderful to know you can just grab a jar out of the cupboard.
2. Dry soaked oats.
Why would you want to dry soaked oats? For soaked oatmeal cookies! Oatmeal is very high in phytic acid which blocks mineral absorption. Click here for my recipe for soaked oatmeal cookies.
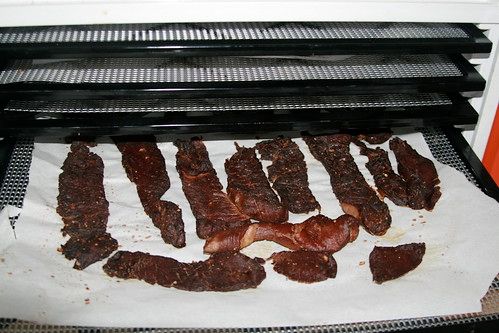
3. Make grass-fed beef or bison jerky.
Jerky is one of my family’s favorite snacks. I love it because it is portable and super nutrient-dense.
The Native American Indians owed their optimal health in part to dried bison jerky, which was one of the mainstays of their diet. Jerky is also very economical. You can get the toughest cuts of meat cheap — they make great jerky.
Click here for my recipe for homemade beef jerky.
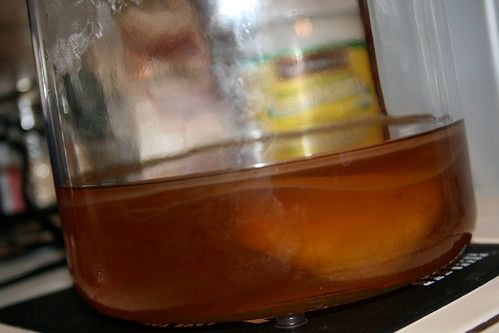
4. Make yogurt.
It’s much cheaper to use a dehydrator at home and make your own yogurt than to buy organic yogurt at the store. Plus you can make raw yogurt from raw milk. For yogurt starters, see my resources page.
5. Let your bread or pizza dough rise.
I am getting into breadmaking big time next year (be prepared for lots of recipes!) It takes time for bread dough or pizza dough to rise and by using a dehydrator, you can really speed up the breadmaking process. You can also use the dehydrator to proof sourdough.
6. Keep your cultures and ferments warm during winter.
If your kitchen is cool, leaving those oats soaking on the counter top is not a good idea. As Sally Fallon Morell always says, to properly prepare grains, we need 3 things: warmth, acidity, and time.
If the warm water you’re soaking your flour in goes cold after 20 minutes, what’s the point of doing it? Just stick your ferments in a food dehydrator set at the perfect temperature and you’ll be sure to end up with properly cultured, nutritious foods.
7. Dry herbs from your garden or from the farmer’s market.
Herbs are easy to grow and many of them are great dried. Basil, thyme, oregano, sage, bay leaves — all can be dried and saved in jars. And the herbs you grow and dry yourself will be organic and much fresher than spices you buy at the store.

8. Dry fresh fruits and vegetables from your garden or from the farmer’s market.
Drying tomatoes is a much better way to preserve nutrients than canning. Dried tomatoes can be thrown into a stew or chili.
I haven’t tried it yet but fruit leather is a classic kid’s snack. It’s much more economical to make your own than buying it at the store. I’m also going to work on a recipe for coconut oil banana chips. My daughter is addicted to the ones from Trader Joe’s — but I’d like to create a version with no added sugar.
9. Make raw sprouted flour crackers.
My recipe for sprouted flour crackers is so delicious (if I do say so myself)! I modified it from a recipe from Peggy Sutton at To Your Health Sprouted Flour Co. She spent a lot of time perfecting it — which is why it comes out so good.
I love sprouted flour crackers because they’re super nutritious, go great with cheese or salami or pate, and they’re a wonderful portable snack. Click here for my recipe for sprouted flour crackers.
You can dry the sprouted flour crackers on low heat in the oven but if you use the dehydrator, you can get the heat lower and preserve all the enzymes.
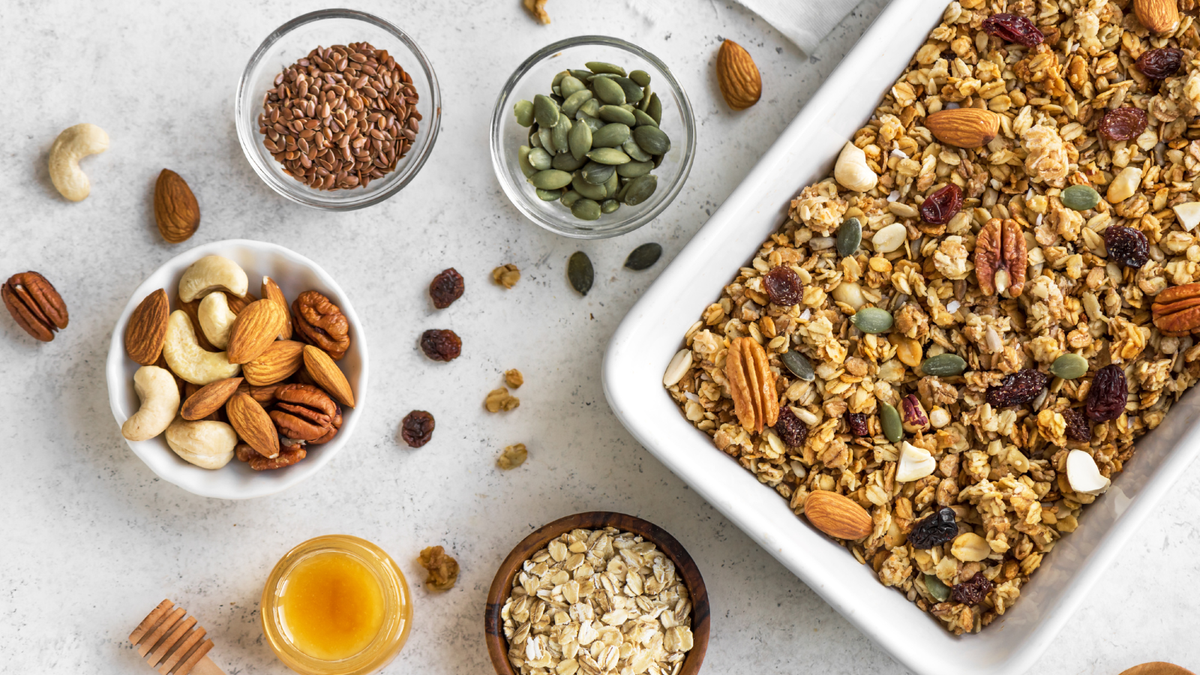
10. Make raw sprouted flour granola.
Giving up extruded boxed cereal is hard for most people. I was never a big lover of cold cereal (Pop Tarts were my vice) but it is nice to have something quick and easy to make for breakfast.
I love making huge batches of this sprouted flour granola. It keeps for weeks in the cupboard. It’s an easy portable snack for a toddler or busy adult, and it’s something my husband can help himself to if I am too busy to make eggs in the morning. And it’s a nice change of pace from regular old oatmeal. Plus it incorporates coconut oil, which I’m always looking for ways to sneak into food. Click here for my recipe for sprouted flour granola.


Comments ()